Getting Started with IW Pro
/IW Pro includes a wide range of professional radar products and tools designed to help you better understand what's happening in the atmosphere. If you're new to IW Pro, the number of options can seem a little overwhelming at first.
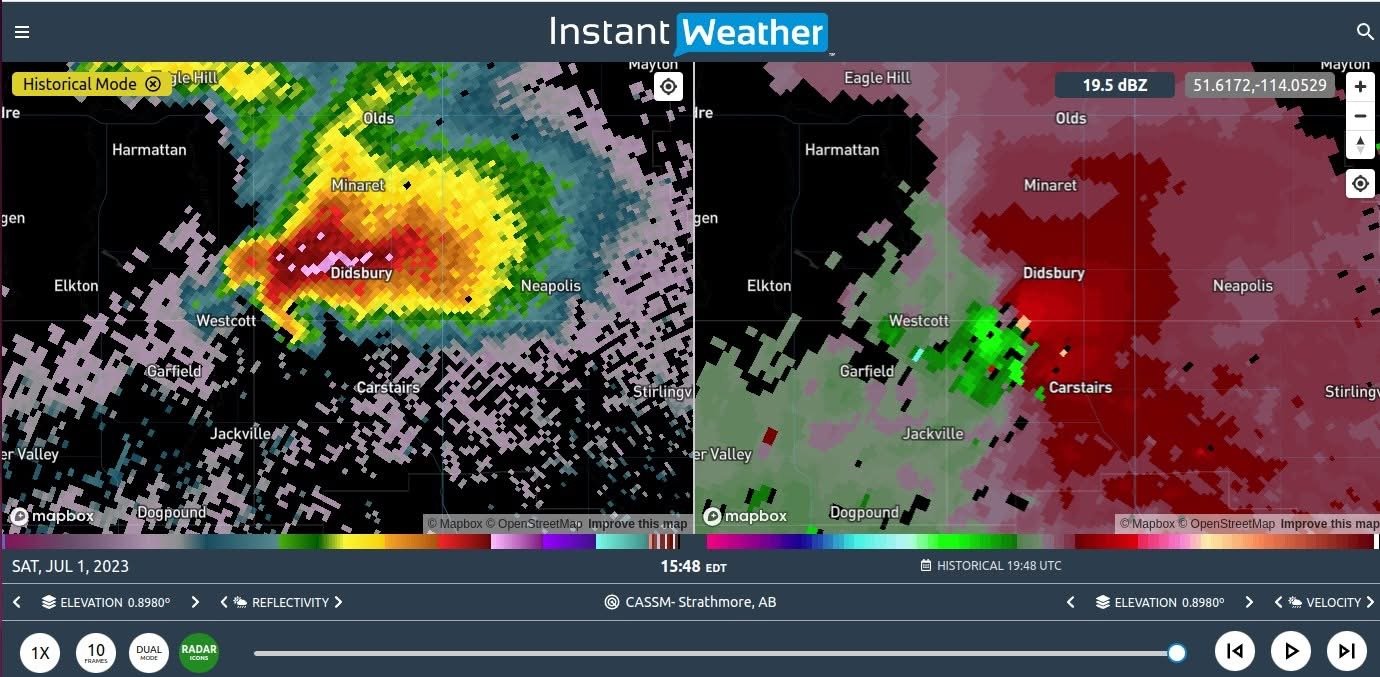
To help you get started, we've created a Getting Started with IW Pro video that walks through the basics of using IW Pro inside the Instant Weather app. The same concepts also apply to the IW Pro web version, since both platforms share very similar features.
What You'll Learn
In this video, you'll learn how to:
Enable IW Pro inside the Instant Weather app
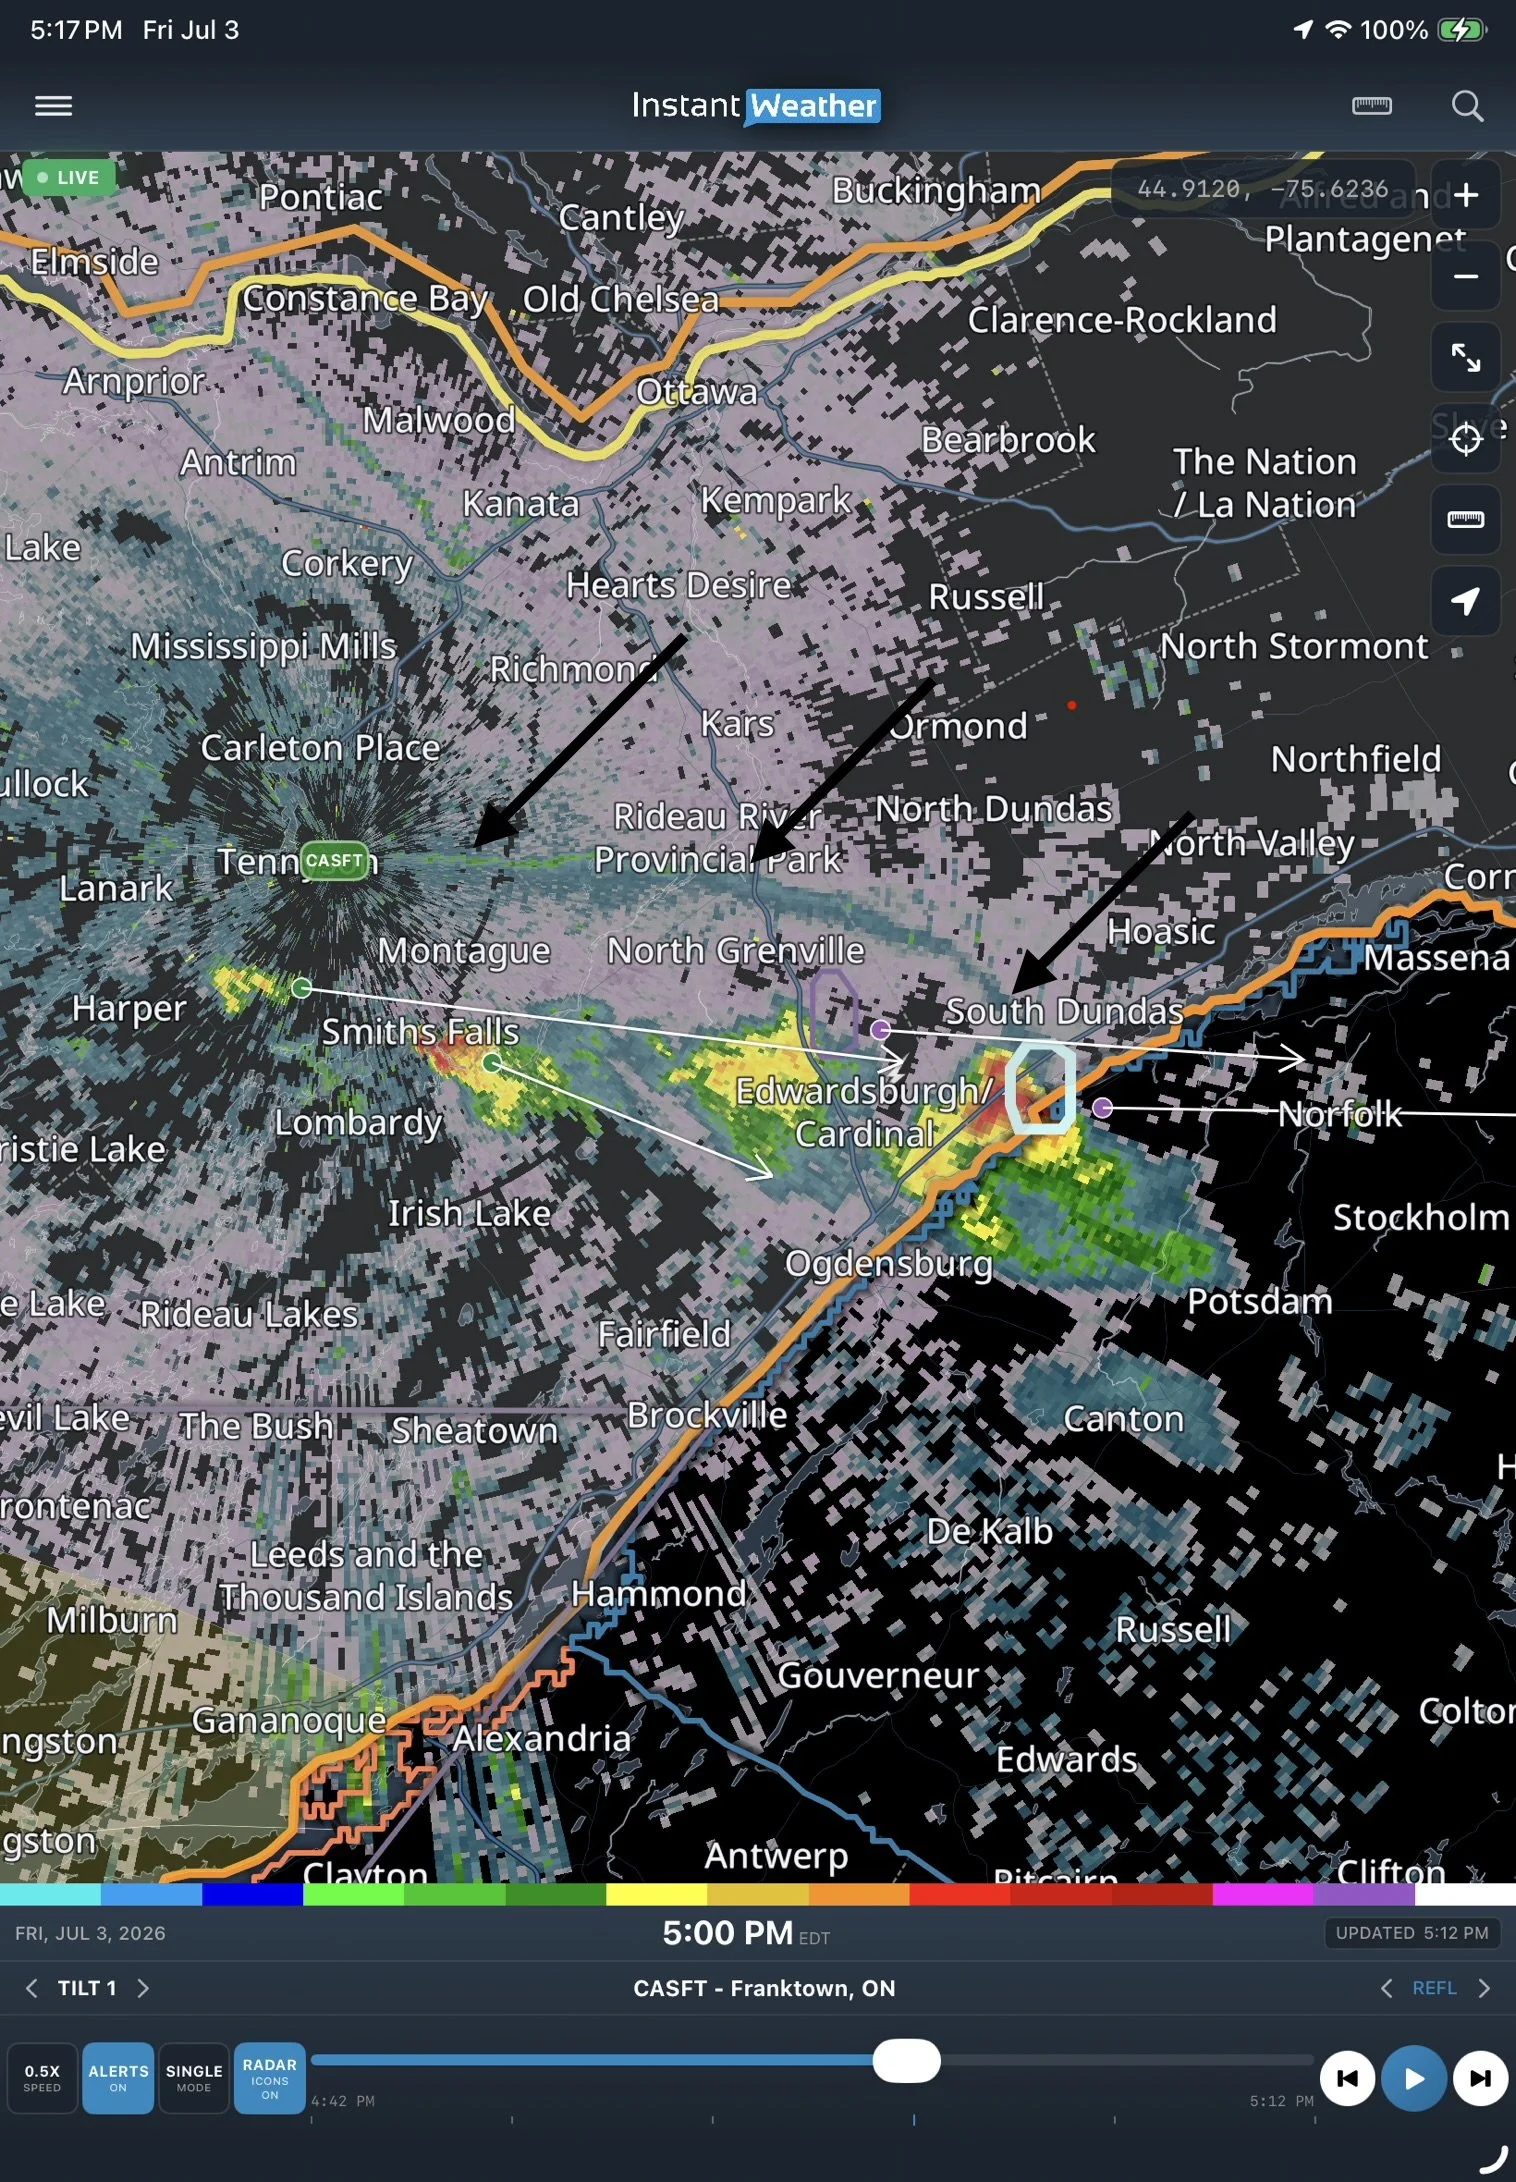
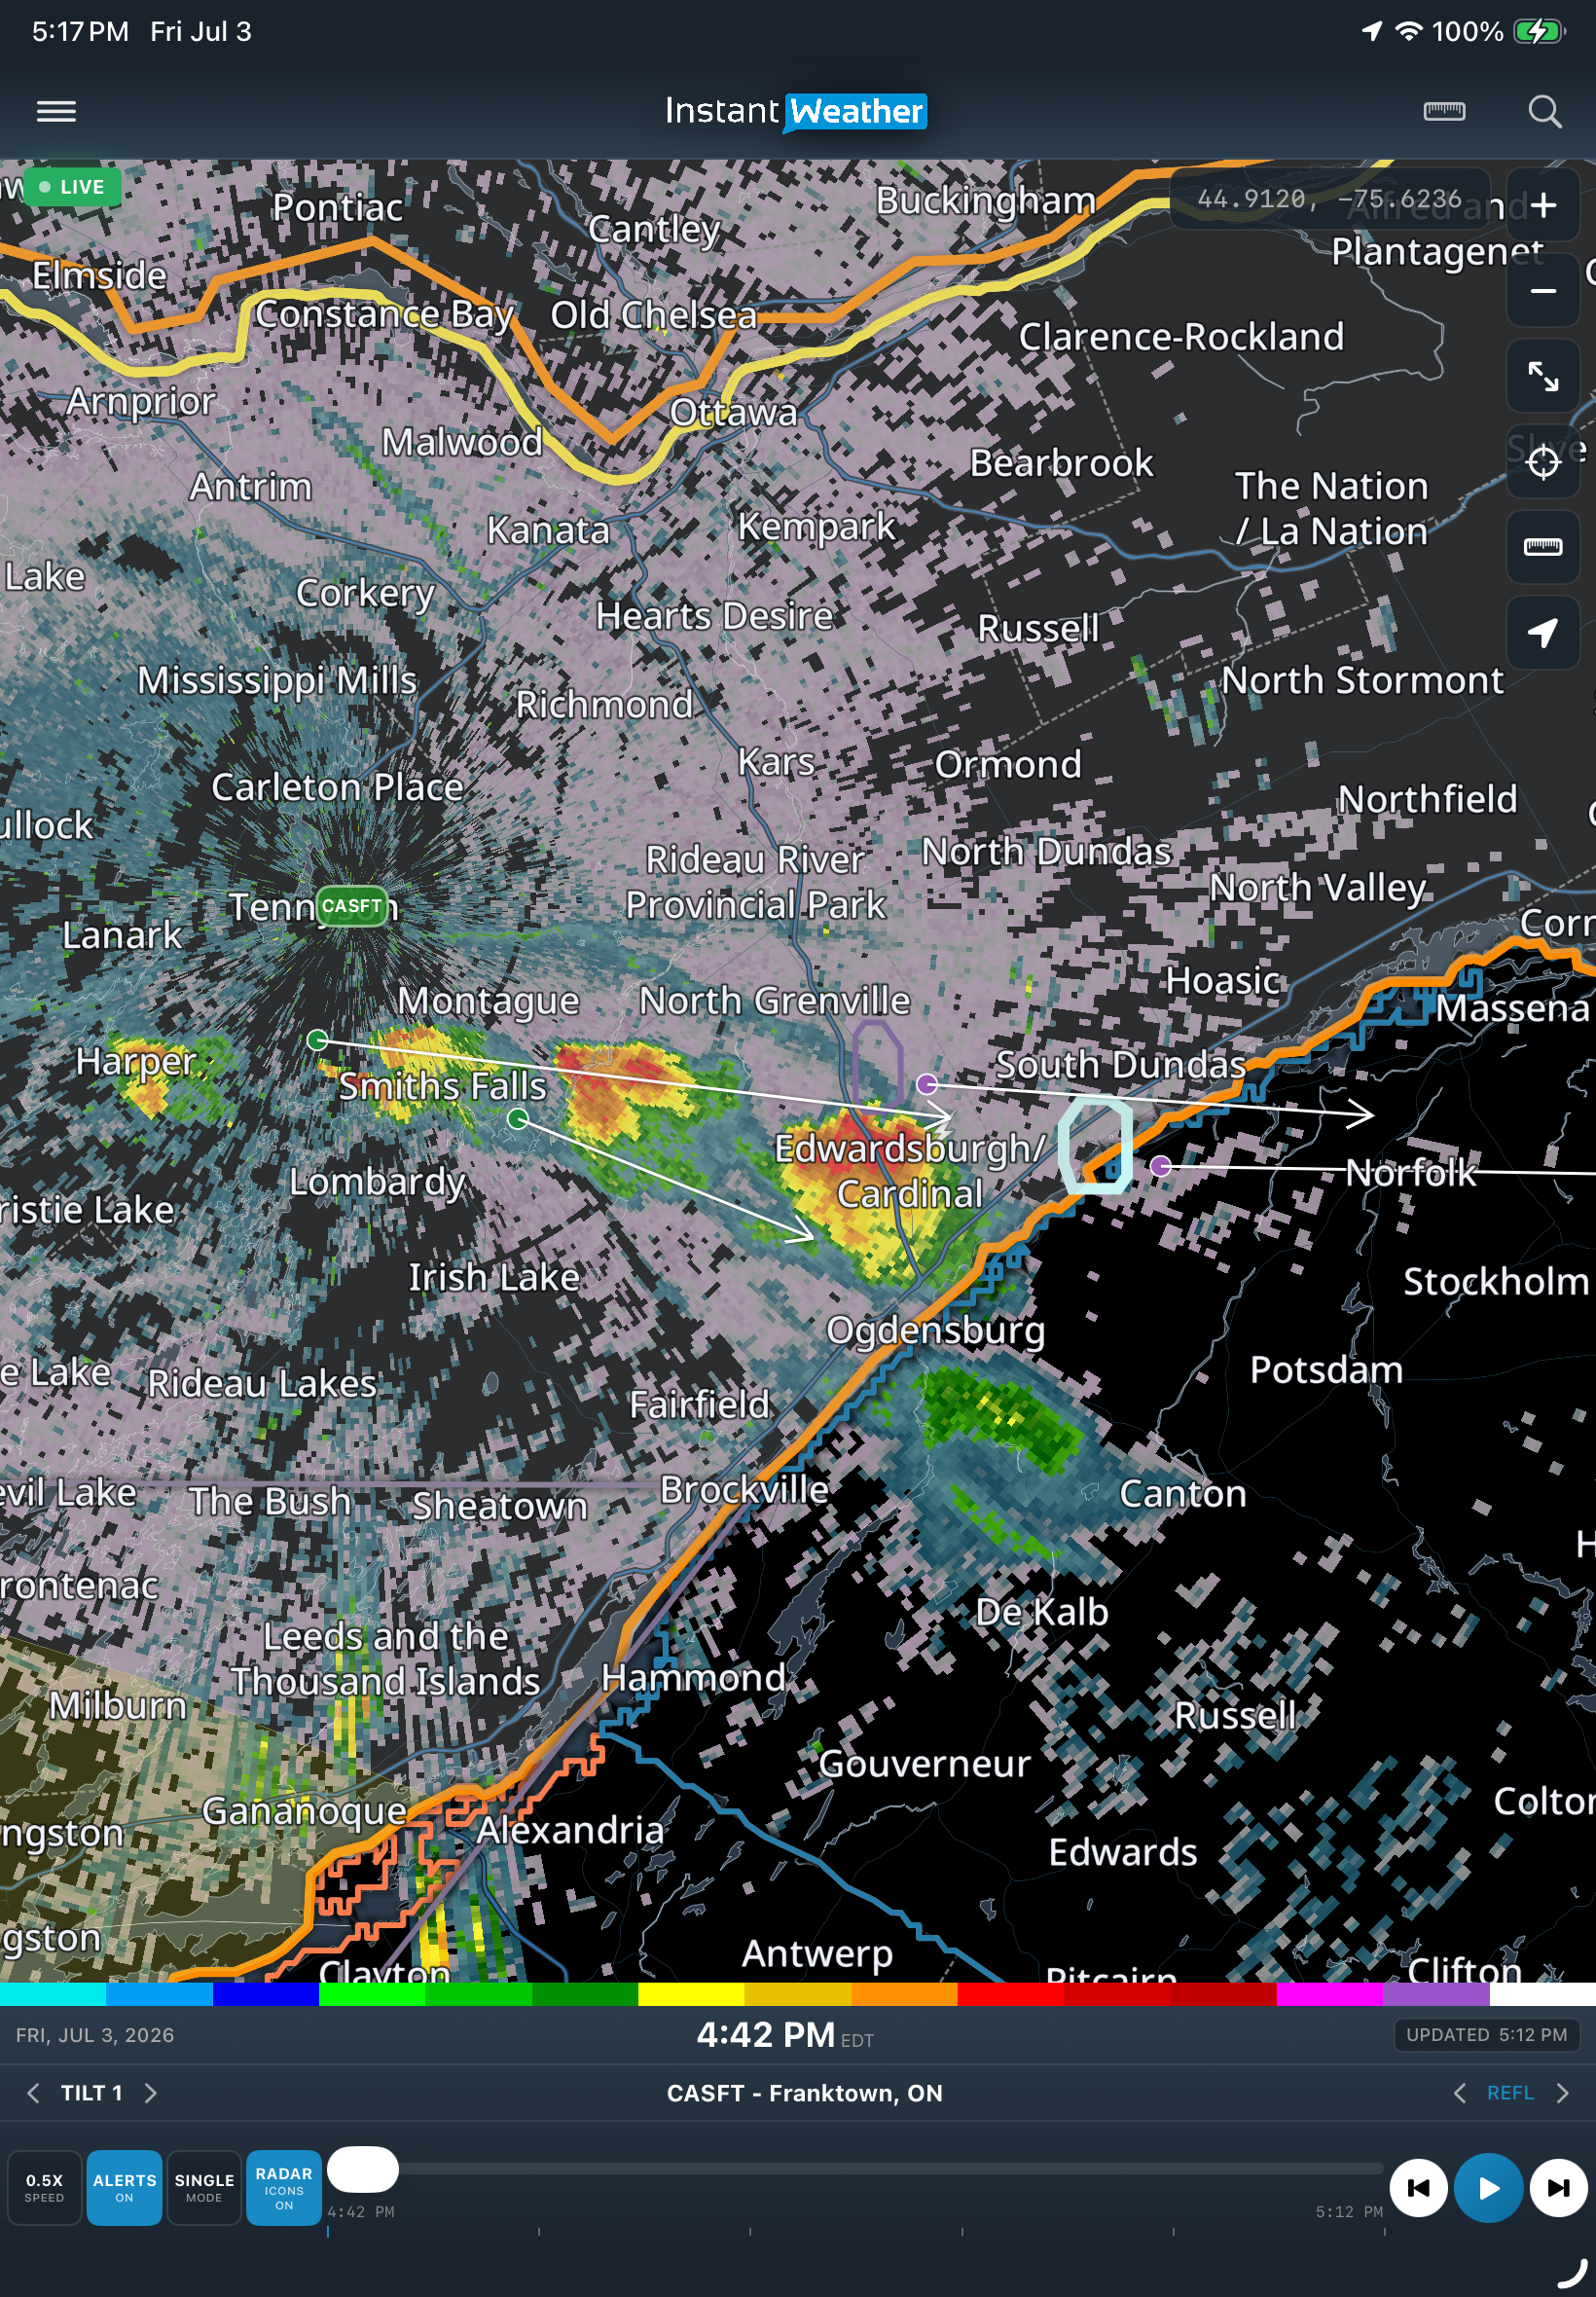
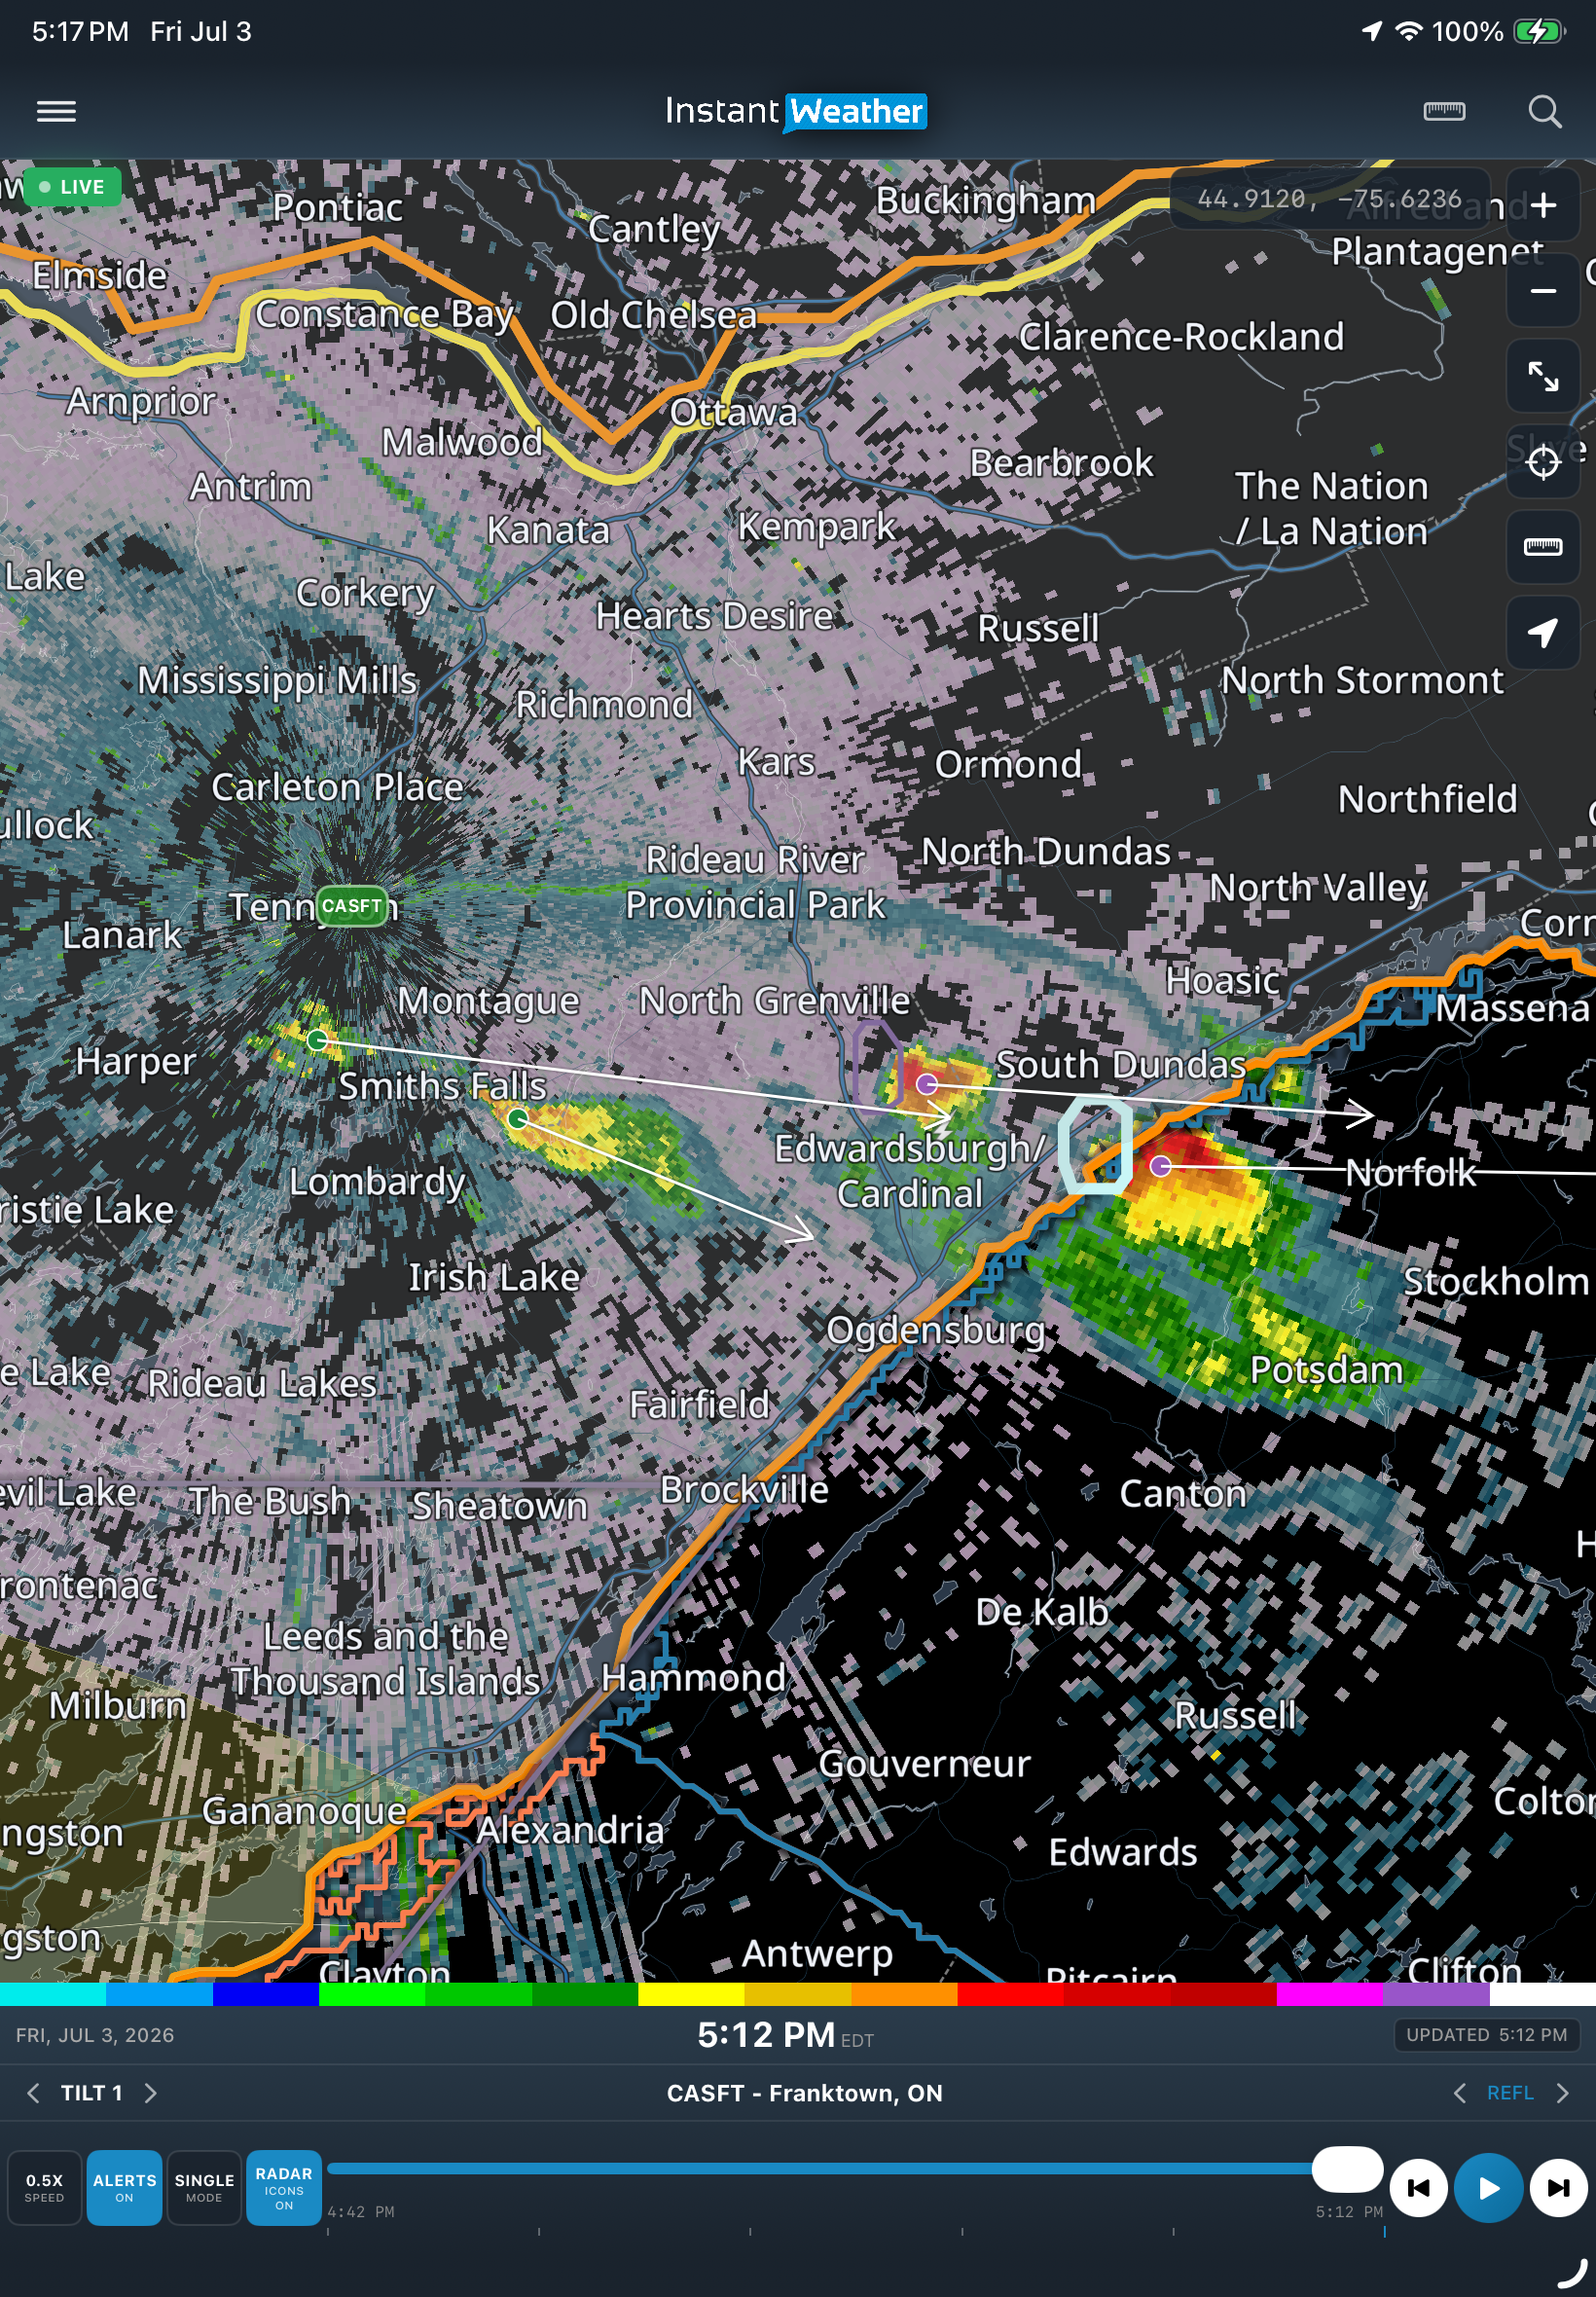
Open IW Pro Radar
Select a radar station
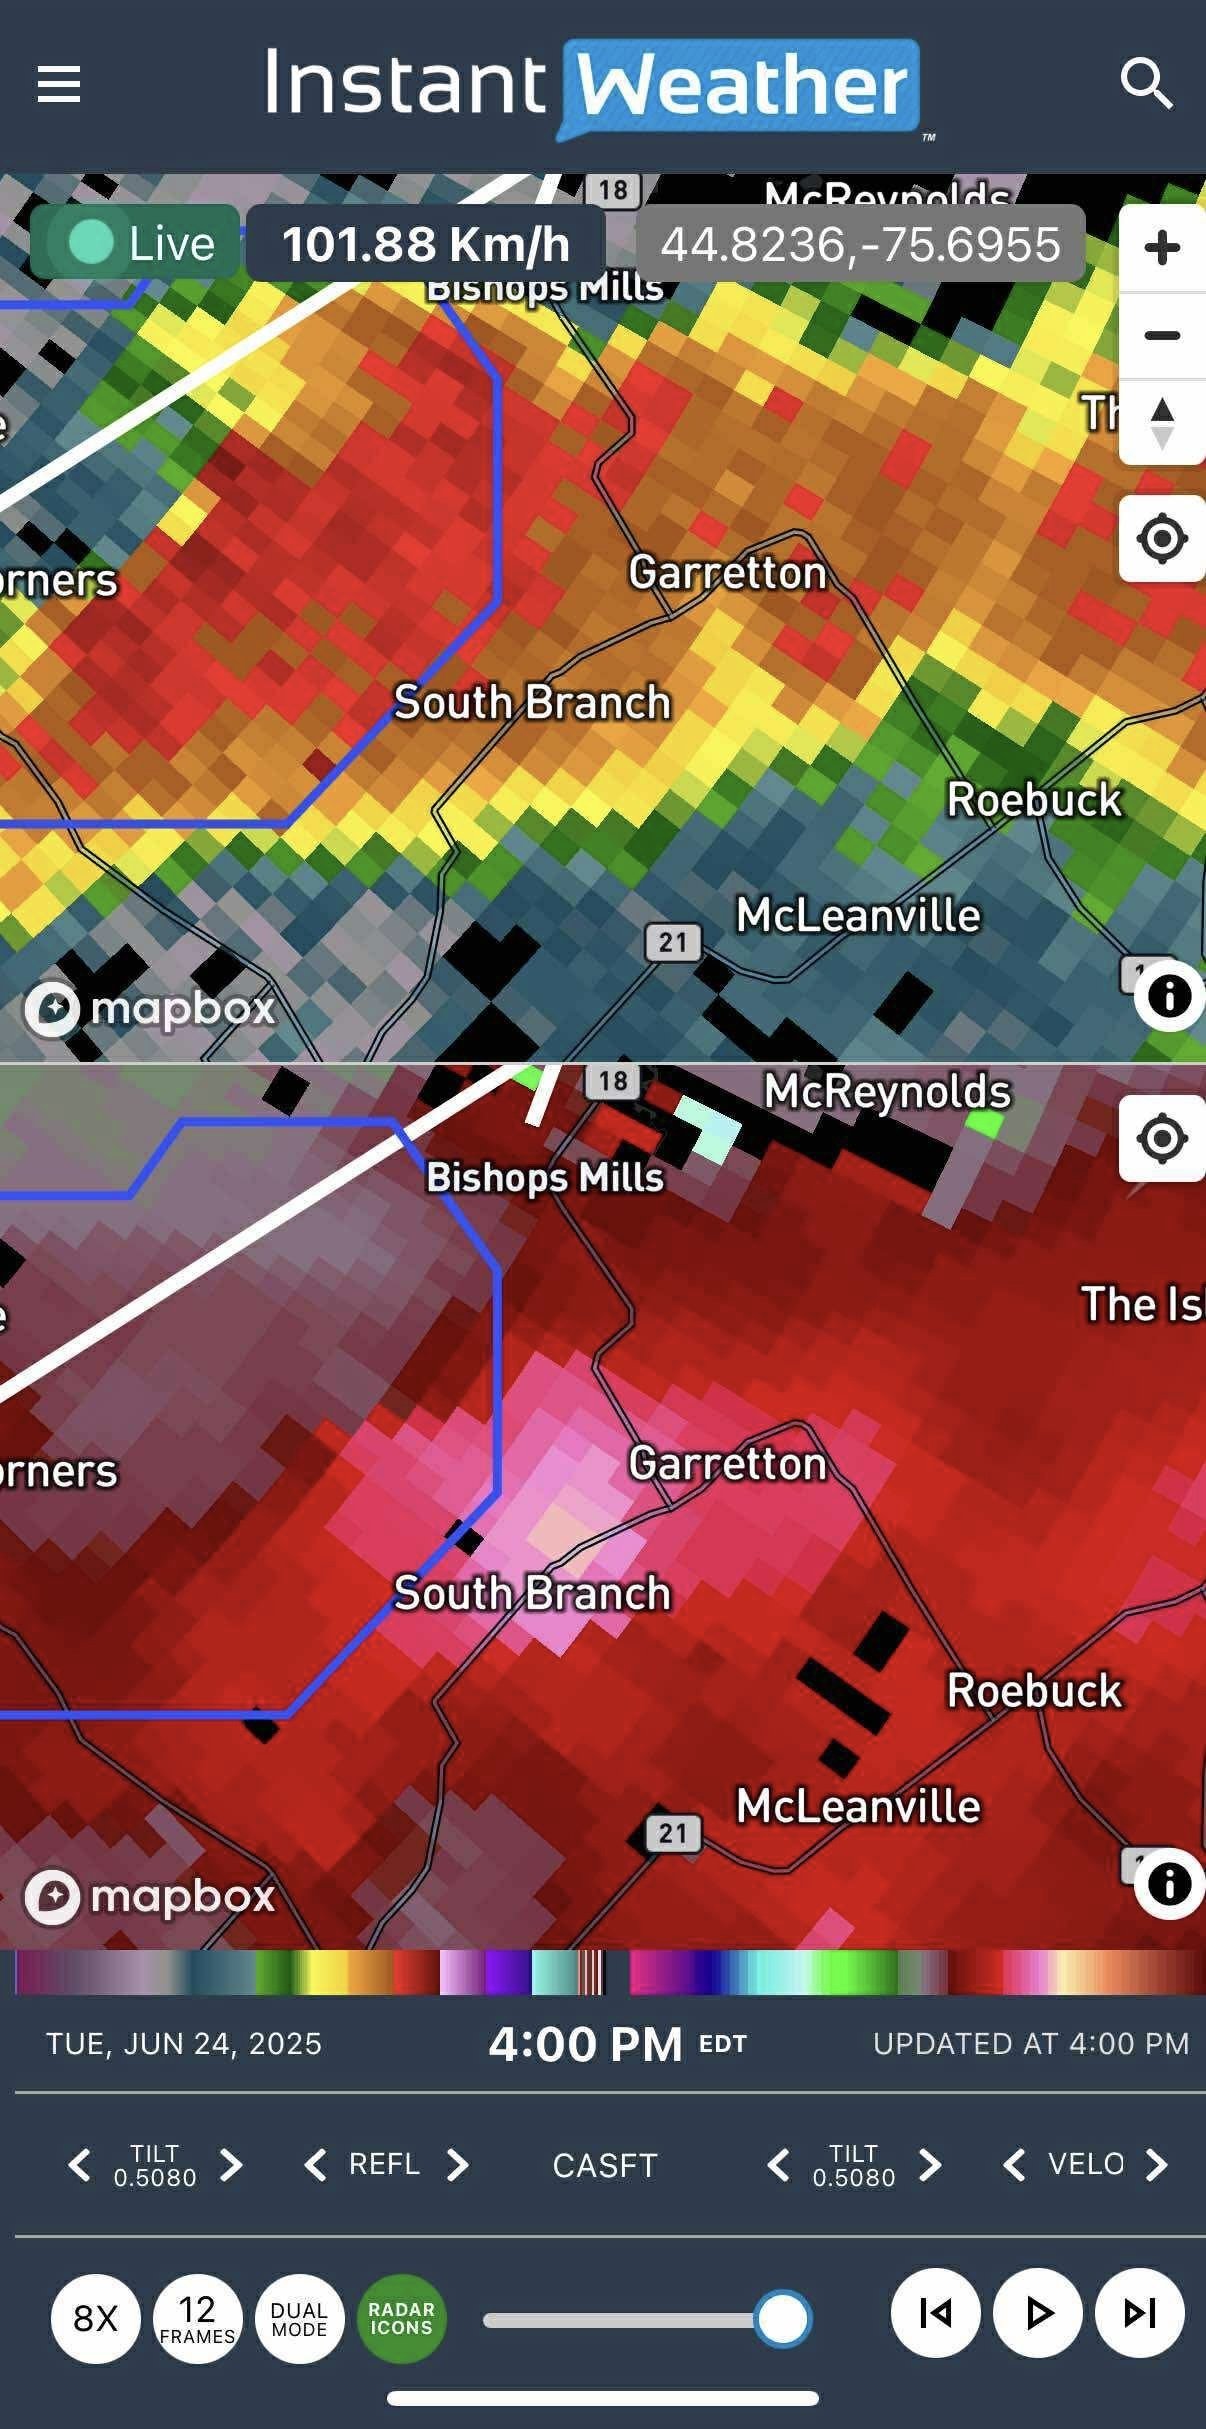
Switch between radar products such as Reflectivity, Velocity, and Correlation Coefficient
Play radar animations
Use the crosshair tool to examine radar values
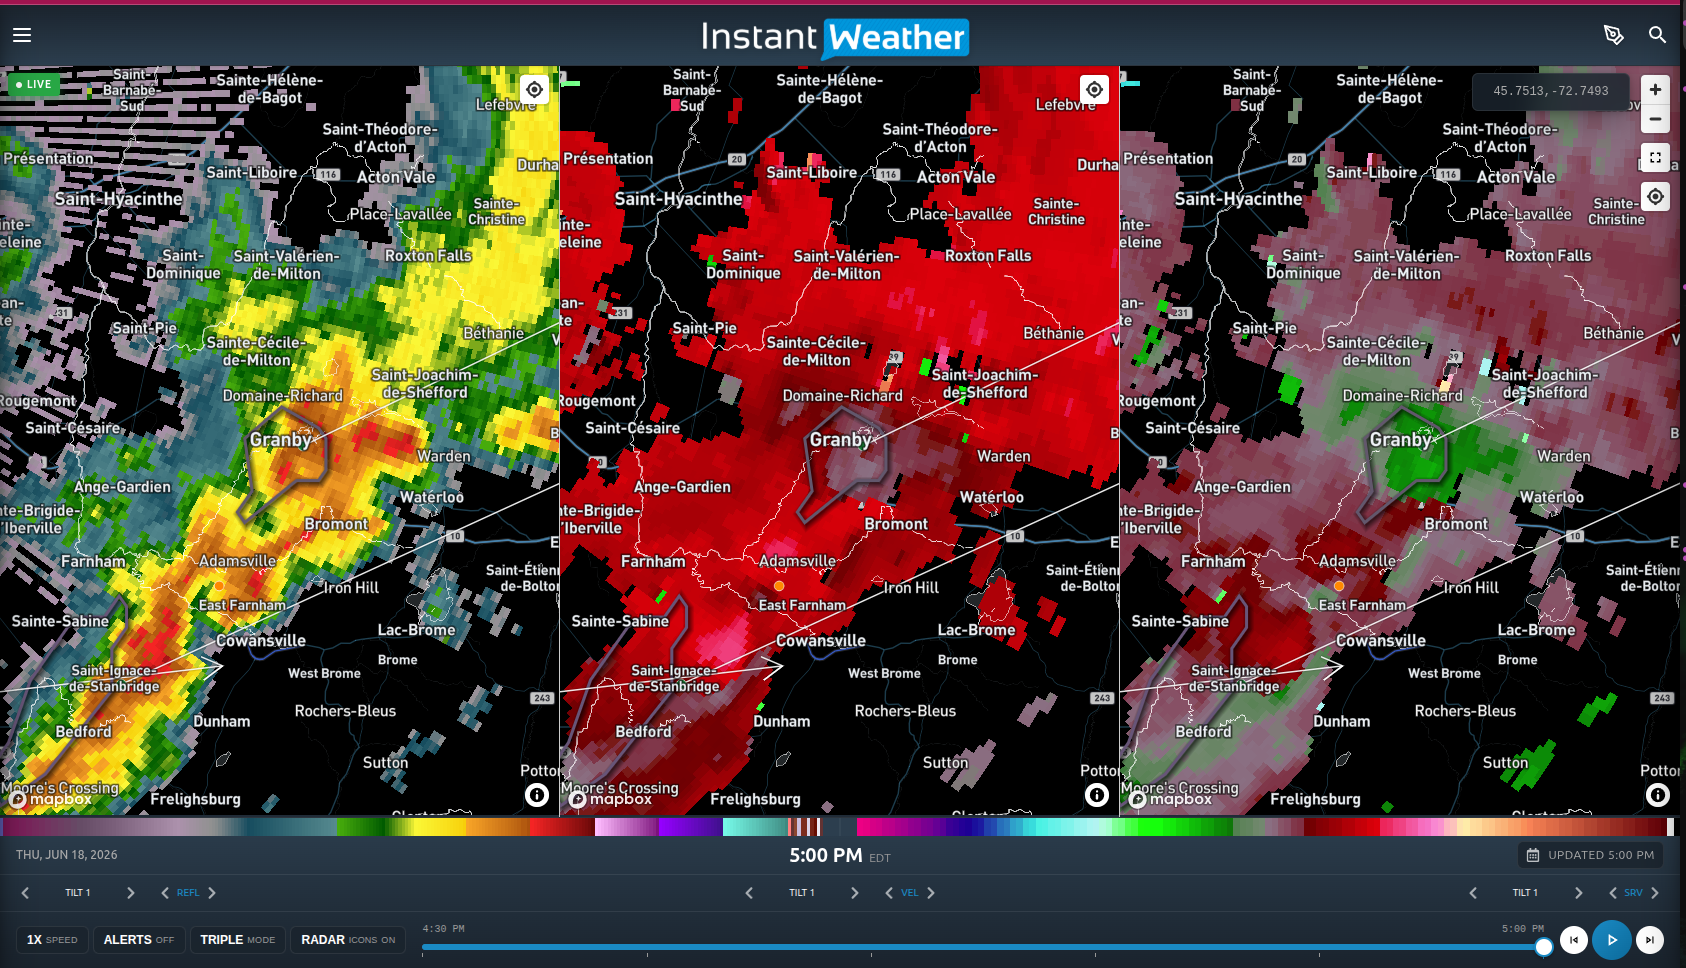
Compare radar products using Swipe, Dual, Triple, and Quad modes
Customize the display using map overlays and settings
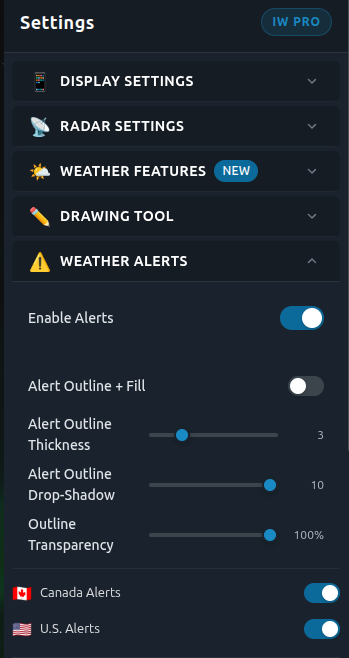
View weather alerts and read their details
Return to the standard Instant Weather forecast pages
By the end of the video, you'll be comfortable navigating IW Pro and know where to find its most commonly used features.
This Is Just the Beginning
This video is intended to help you become familiar with the interface. It focuses on how to use IW Pro rather than explaining every meteorological concept in detail.
Many of the radar products deserve their own in-depth explanations. For example:
What Reflectivity shows
How to interpret Velocity
Using Correlation Coefficient to identify different types of precipitation and storm features
Understanding Storm Relative Velocity
Choosing between different radar tilts
Reading weather fronts and other map overlays
We'll be covering these topics in future blog posts and tutorial videos using real weather examples.
Keep Learning
The IW Pro Blog will continue to grow with feature guides, radar tutorials, case studies, troubleshooting tips, and examples from actual storms.
Whether you're simply trying to understand today's weather or you're interested in learning more about radar meteorology, we hope these resources help you get the most out of IW Pro.
If you haven't watched the Getting Started video yet, it's the perfect place to begin. Once you're comfortable with the basics, you'll be ready to explore everything IW Pro has to offer.
-
Examples
- Jul 8, 2026 Spotting Outflow Boundaries in IW Pro Jul 8, 2026
- Jul 23, 2023 Hail spike example Jul 23, 2023
- Jul 22, 2023 Example of bow echo-type storm with counter-rotating vortices Jul 22, 2023
-
Features
- Jun 27, 2026 Understanding Storm Relative Velocity (SRV) in IW Pro Jun 27, 2026
- Mar 23, 2026 Weather Alerts in IW Pro: More Control Than Ever Mar 23, 2026
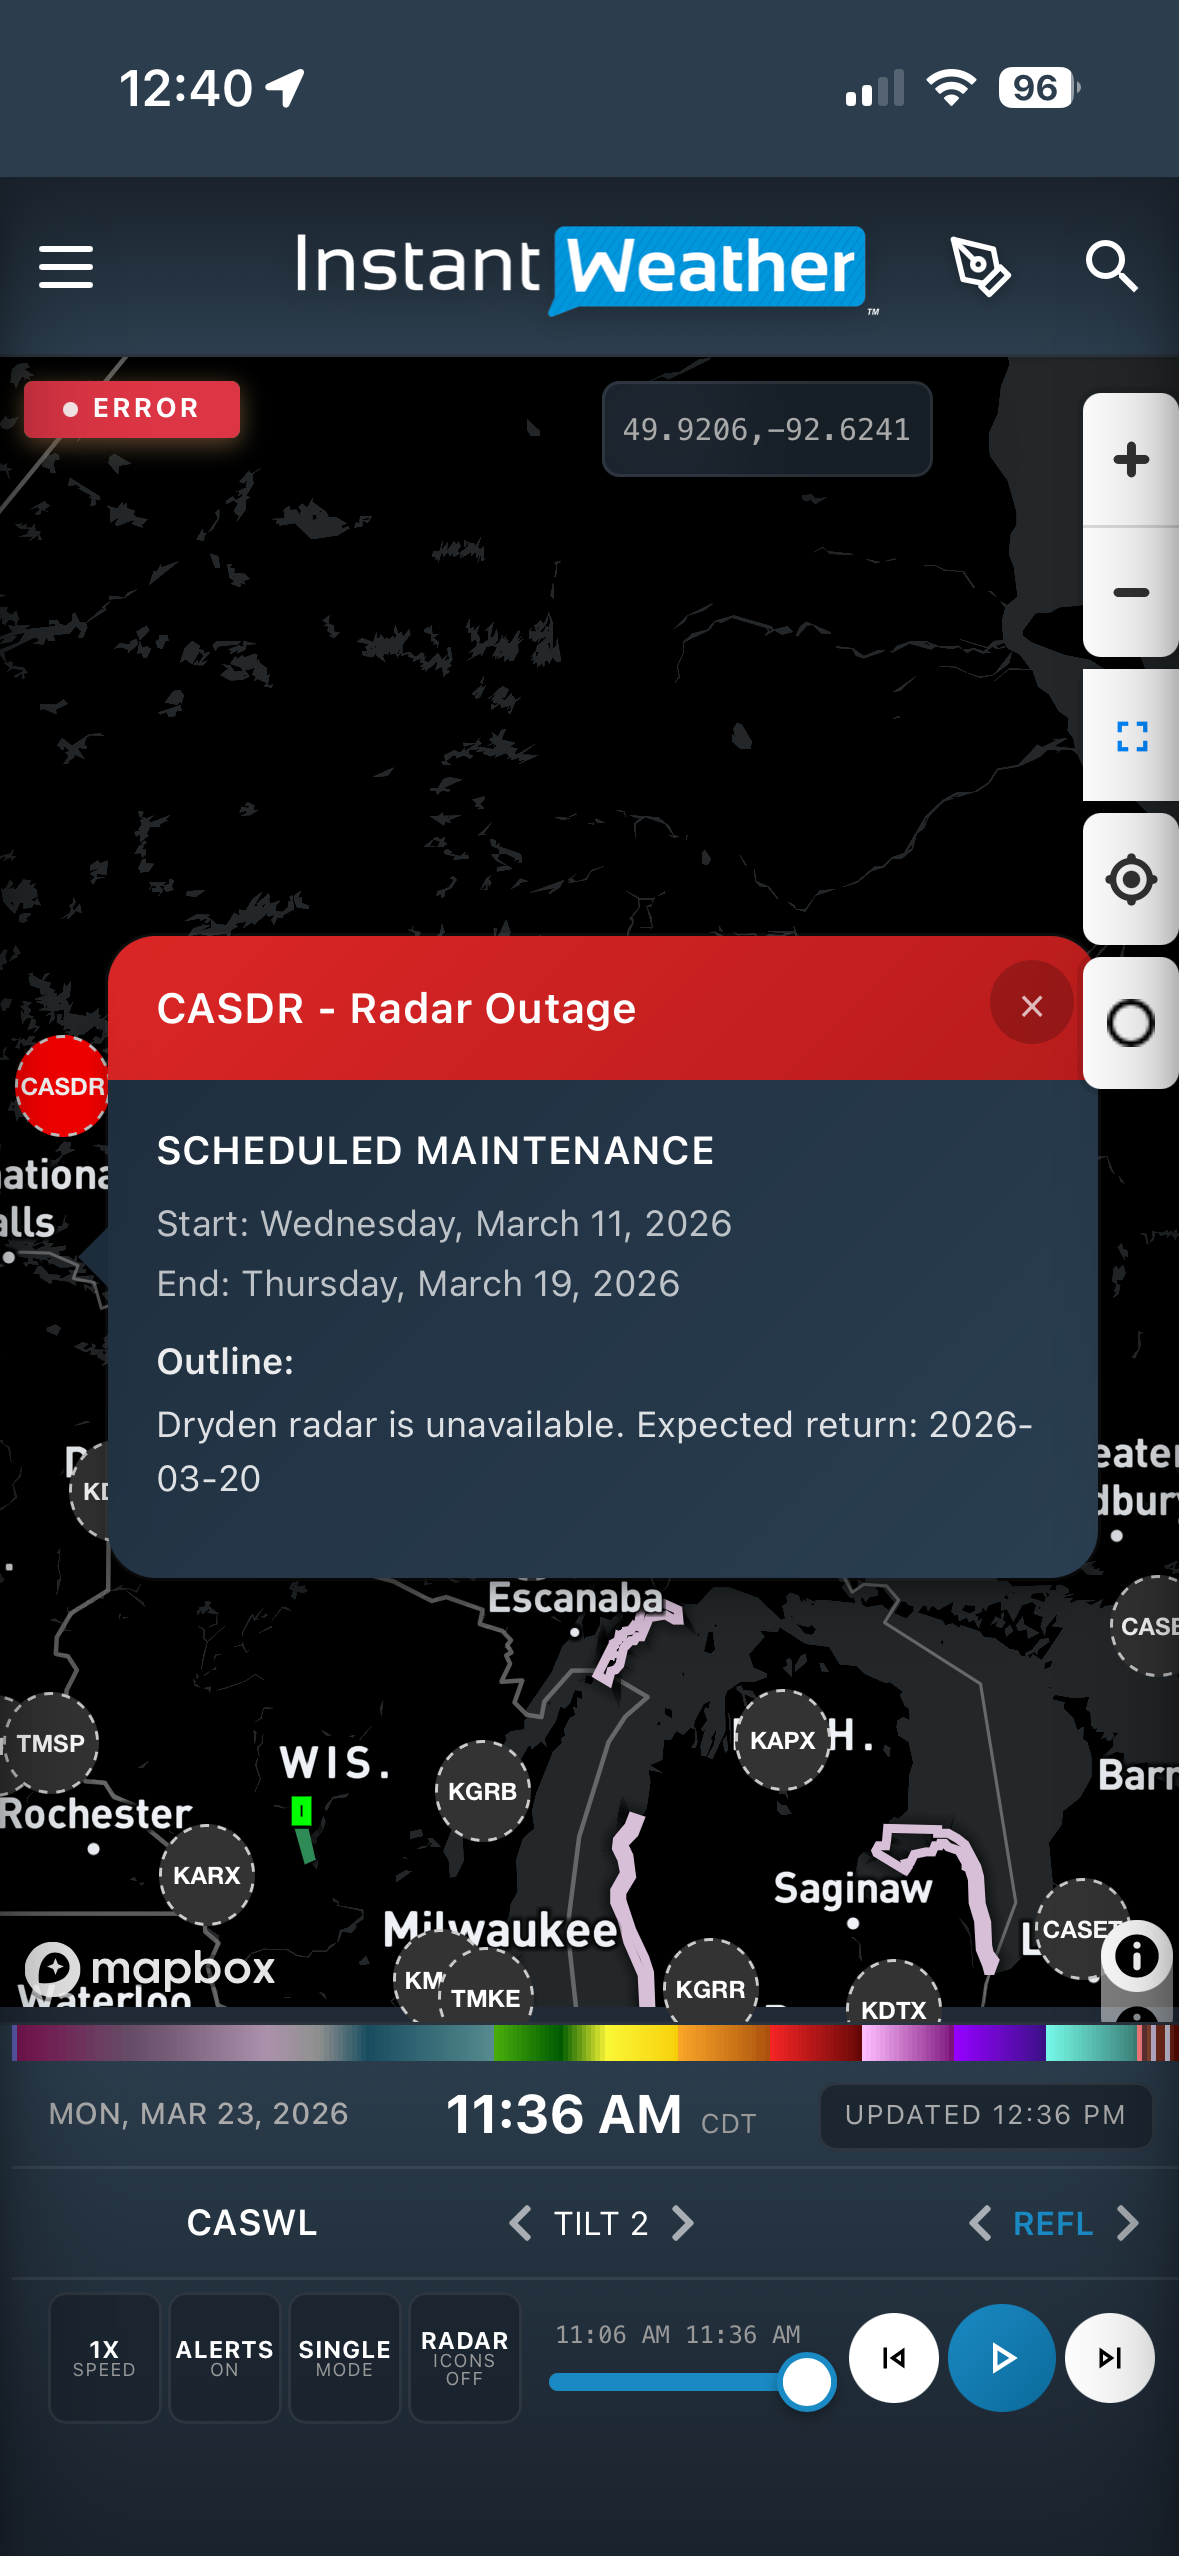
- Mar 23, 2026 Canadian Radar Outages Now Available in IW Pro Mar 23, 2026
- Feb 28, 2025 🛠️ IW Pro Settings Overview (last reviewed May 2025) Feb 28, 2025
- Feb 28, 2025 Environment Canada's "Thunderstorm Outlooks" Feb 28, 2025
- Aug 26, 2024 Listing and full description of alerts Aug 26, 2024
- Aug 26, 2024 IW StormRisk storm track arrows and colour key Aug 26, 2024
- Jul 30, 2024 IW StormRisk is live Jul 30, 2024
- Jul 10, 2024 U.S. alerts Jul 10, 2024
- Jul 10, 2024 Mosaic Radar Layer Jul 10, 2024
- Jul 10, 2024 IW StormRisk preview Jul 10, 2024
- Sep 9, 2023 Measurement tool in single mode Sep 9, 2023
- Jul 24, 2023 🛠️ Requested Features (Updated May 2025) Jul 24, 2023
- Jul 17, 2023 Canadian Alerts Jul 17, 2023
-
Getting Started
- Jul 9, 2026 Getting Started with IW Pro Jul 9, 2026
- May 20, 2025 Introduction to Instant Weather Pro May 20, 2025
- Jul 23, 2023 White screen on mobile - Update Aug 15 Jul 23, 2023
-
How-to
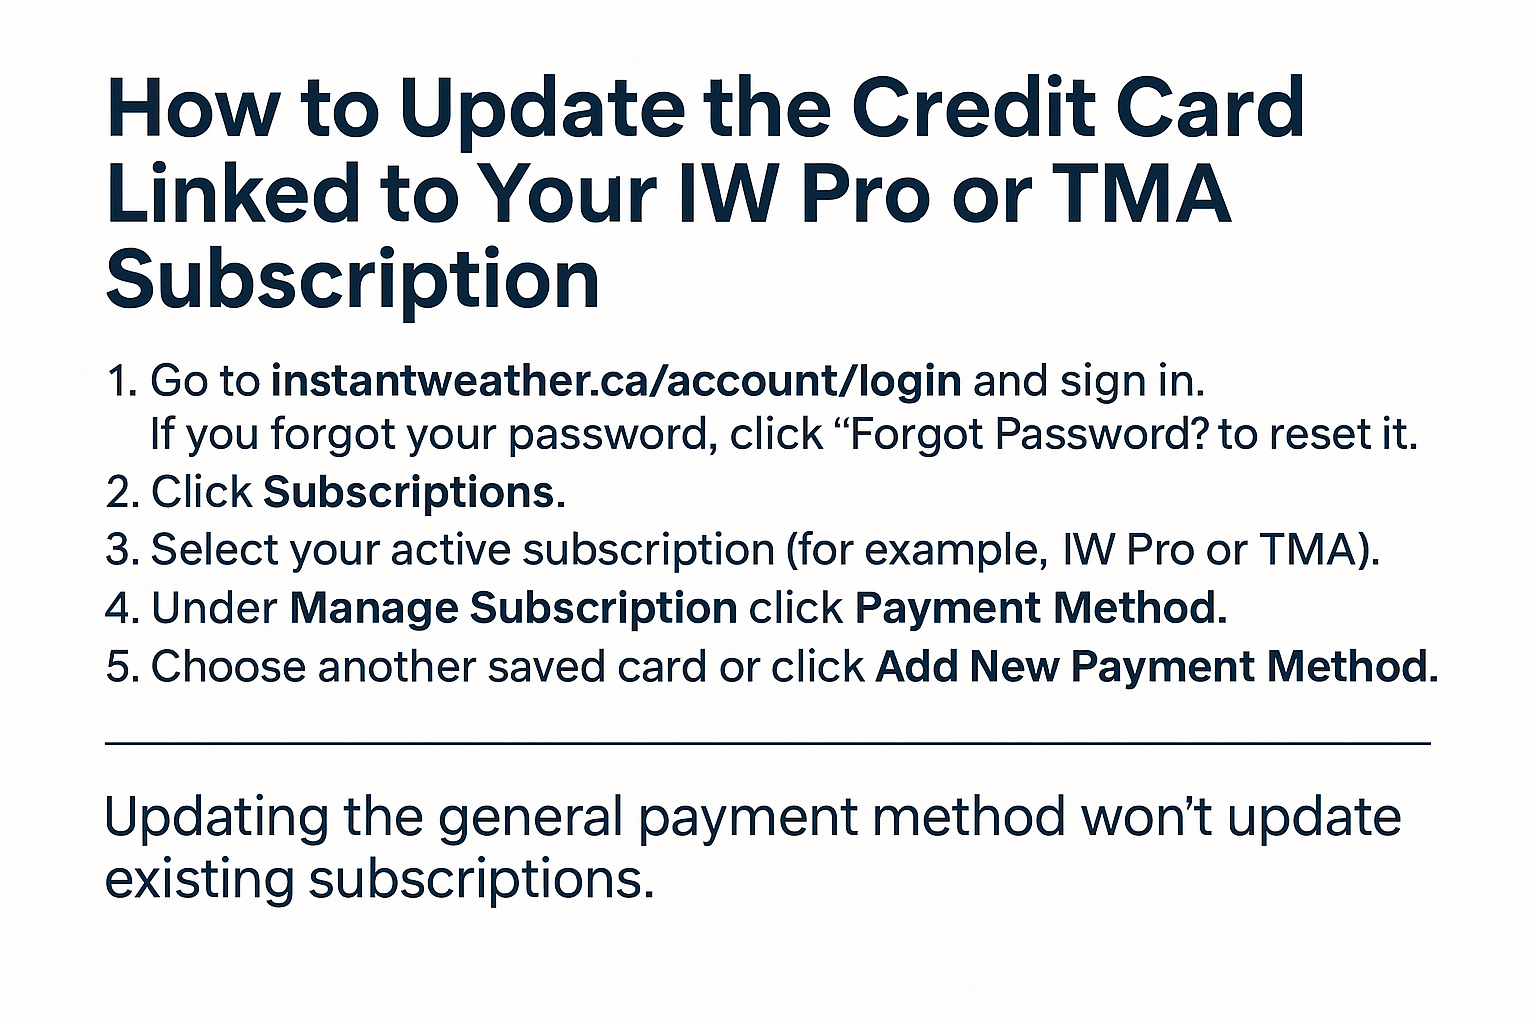
- Mar 23, 2026 How to Update the Credit Card Linked to Your IW Pro or TMA Subscription Mar 23, 2026
- Sep 6, 2023 Adding IW Pro to your Home Screen Sep 6, 2023
- Jul 22, 2023 How to read radar Jul 22, 2023
- Jul 22, 2023 Live Mode vs Regular Mode vs Historical Mode Jul 22, 2023
-
News
- Mar 23, 2026 Weather Alerts in IW Pro: More Control Than Ever Mar 23, 2026
- Mar 23, 2026 Canadian Radar Outages Now Available in IW Pro Mar 23, 2026
- Sep 9, 2023 Measurement tool in single mode Sep 9, 2023
- Sep 9, 2023 Improved experience for Android mobile users Sep 9, 2023
- Sep 6, 2023 Recent Improvements as of Sept 6 Sep 6, 2023
-
Resources
- Jun 24, 2025 🌪️ Tornadoes, Downbursts, and Microbursts: What’s the Difference and How to Spot Them on Radar Jun 24, 2025
- Jul 24, 2023 The Anatomy of the Life of a Supercell Jul 24, 2023
-
Troubleshooting
- Sep 9, 2023 Improved experience for Android mobile users Sep 9, 2023
- Sep 6, 2023 Adding IW Pro to your Home Screen Sep 6, 2023
- Jul 24, 2023 Tip for map on mobile devices Jul 24, 2023
- Jul 23, 2023 White screen on mobile - Update Aug 15 Jul 23, 2023